Introduction
Welcome back to Part 2 of our blog series on gardening mistakes and tips for beginners. Last week, we did explore some of the mistakes I have made, and been making in my gardening journey, so that you could be better informed and either you avoid them or rectify them if already made them. You can read part one of the series below.
Gardening Mistakes and Tips to Avoid Them (Part 1)
In this instalment, we will continue exploring the mistakes I made as a newbie gardener and the valuable lessons I learned. Join me as I share my experiences and provide tips to help you navigate your gardening journey more effectively.
Cardboard-only Mulching
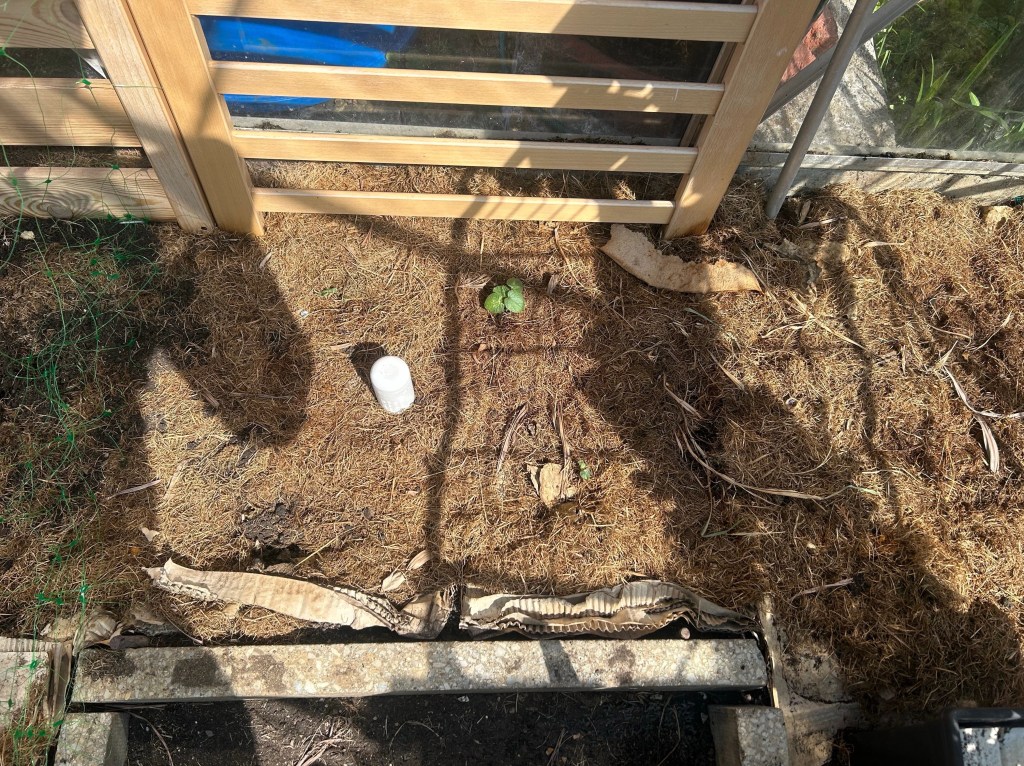
I remember the first time I heard the word “mulch”. I was discussing my greenhouse’s dryness with my younger brother, a fellow gardening enthusiast (I guess it runs in the family), and then he suggested mulching as a solution. I did some research into it, and excited to find an affordable option, I decided to give cardboard mulching a try. Cardboard mulching is great, and it is even ranked better than wood chips. But little did I know that using cardboard alone had its limitations. As the cardboard got wet and dried out, it reverted to its thick state, leaving the soil exposed.
To overcome this issue, I discovered two effective solutions. The first involves shredding the cardboard into smaller pieces before using it as mulch. While this method requires extra effort (which I was honestly not in the mood of doing), it helps the cardboard integrate with the soil more effectively. The second option is layering organic matter, such as grass clippings, on top of the cardboard. Luckily I have a good space with natural growing grass, and as I lawnmowed I gathered the chippings and placed on the cardboard. This combination created an ideal mulch that retains moisture, improved soil health, and prevented weed growth. This had an added benefit, as the grass chippings help boost the Nitrogen level of the soil as it decomposes. I also noticed that a lot of micro organisms began to flourish under the mulch, which really excited me for somewhere that was so dry it was giving out dust. By adopting these techniques, you can create a nurturing environment for your plants to flourish.
Using Hydrophobic Soil to Plant Seeds
One of the amusing mistakes I made was unknowingly using hydrophobic soil to plant my seeds. Before I embarked on my gardening journey, I never imagined that soil could become hydrophobic. It was only when my seeds failed to germinate despite regular watering that I realized something was amiss. Upon investigation, I discovered that the soil had become water-repellent, hindering proper moisture absorption. It was strange that regardless of how I watered the soil, it never penetrated beyond 2mm into the soil.
To rectify the situation, I had to dispose of the affected soil and ensure that the new soil was thoroughly soaked before planting the seeds. For those that I had luckily planted within a big growing pot, I poured an ample amount of water into the pot and gently stirred the soil to break up any hydrophobic pockets. This had an adverse effect as the soil could become baked when dried again, but this was prevented by watering constantly. While this method worked for some seeds, it’s important to note that some seeds may have become non-viable over time and I had to dispose of some.
Harvesting Lettuce by uprooting it
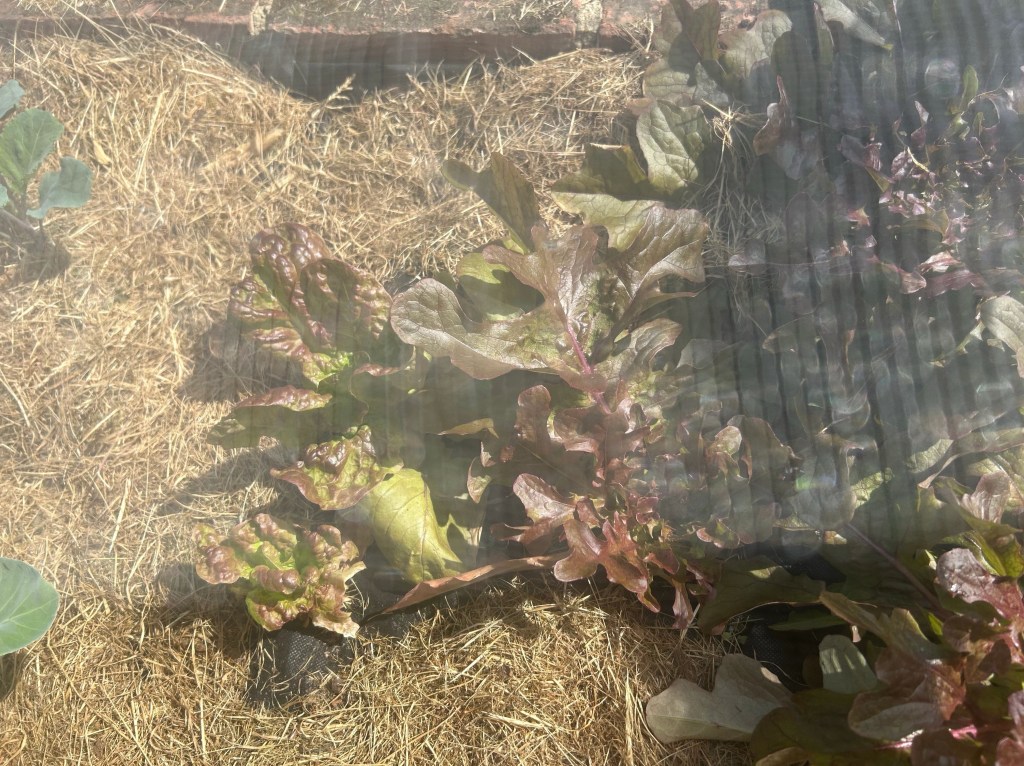
One of the first crops I was privileged to harvest was Lettuce, and was very happy to do it; but in the process made a common mistake when harvesting it. I used to uproot the entire plant, not considering the long-term consequences. This led to a scarcity of lettuce, as I preferred picking fresh leaves from the garden when needed. However, I soon discovered a better approach. Instead of uprooting the lettuce, I started trimming the leaves I wanted to consume while leaving the roots intact. By adopting this method, the lettuce plants regrew their leaves, ensuring a continuous supply. For example, if I had 14 lettuce plants, by the time I finished harvesting from the 14th plant, the first plant would have replenished its leaves. Although I’m still unsure of how many times this process can be repeated, I will update you in a future blog post as I gather more information.
Using Paper Growing Pots Indiscriminately
One of my experiments involved using paper growing pots, which I discovered through a YouTube video on how to effectively grow okra. The idea was to bury the entire pot in the ground when transplanting crops like okra, eliminating the need for a separate transplanting step due to its sensitive nature. However, I overlooked the importance of humidity and the challenges it posed when combined with my hydrophobic soil issue.
The paper pots dried out the soil faster and hindered the growth of my okra plants. It wasn’t until I switched back to using regular growing trays that I achieved better results. If you decide to use paper growing pots, it’s crucial to consider using it when there is high humidity levels, especially during the colder months. There could be added benefits too, as paper pots can offer better insulation than plastic pots, but they require a suitable environment to thrive and support plant growth effectively.
Underestimating the importance of the Sunlight
We have heard it said, that plants use the process of photosynthesis to convert light to chemicals that they need for their growth. I don’t think I ever really properly understood the importance of this process, and by extension sunlight in plant growth until I started gardening. I gained a deeper understanding of this fact during my gardening journey. Observing the stark difference between plants exposed to direct sunlight and those in shaded areas was a revelation. It became evident that photosynthesis, the process by which plants produce their food, heavily relies on sunlight. To ensure optimal plant growth, it’s essential to position your plants in areas where they can receive a minimum of 5 hours of direct sunlight per day. Certain light-loving plants like tomatoes may require up to 8 hours. Providing adequate sunlight promotes vigorous growth, lush foliage, and bountiful harvests.
Conclusion
In this second instalment of our gardening series, I shared additional mistakes I made as a novice gardener, and provided tips I believe can help you avoid them. Remember, mulching with cardboard requires additional measures to prevent exposure and promote soil health. Be mindful of hydrophobic soil when planting seeds, and consider alternative approaches to ensure successful germination. Instead of uprooting lettuce plants, opt for trimming leaves to facilitate continuous harvests. Approach paper growing pots with caution, taking into account humidity levels and transplanting challenges. Lastly, never underestimate the importance of sunlight in your plants’ growth and productivity.
Stay tuned for Part 3 of our blog series, where I will continue to share insights, experiences, and valuable tips to help you become a more confident and successful gardener. Happy gardening!
